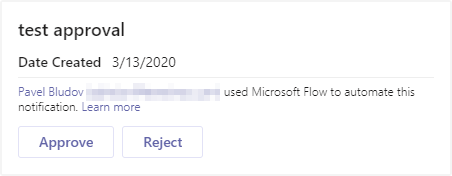
This post will describe what steps to take to adjust a default Approval Adaptive Card. Why would one want to do that? Well, by default it shows some unnecessary information, Requested by First Last Name note is probably the most questionable.
In the example below a Power Automate Flow will be used to post a card into Microsoft Teams.
Please note it’s easy to break an Approval Adaptive Card when changing its JSON code.
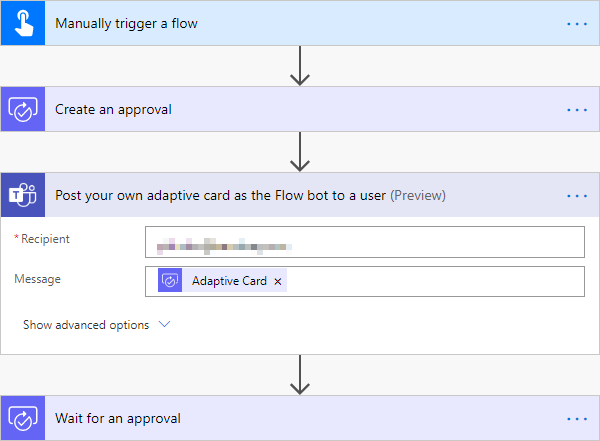
Let’s create a Flow that creates an approval request, posts an Adaptive Card, and then waits for its result.
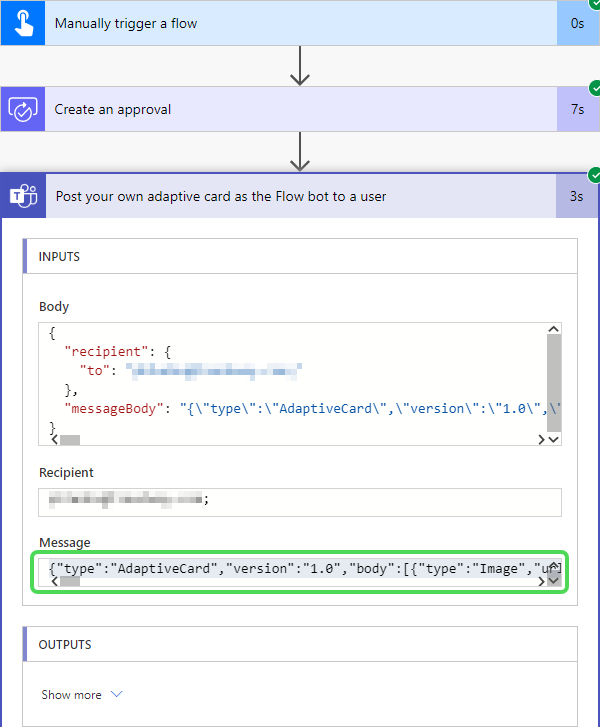
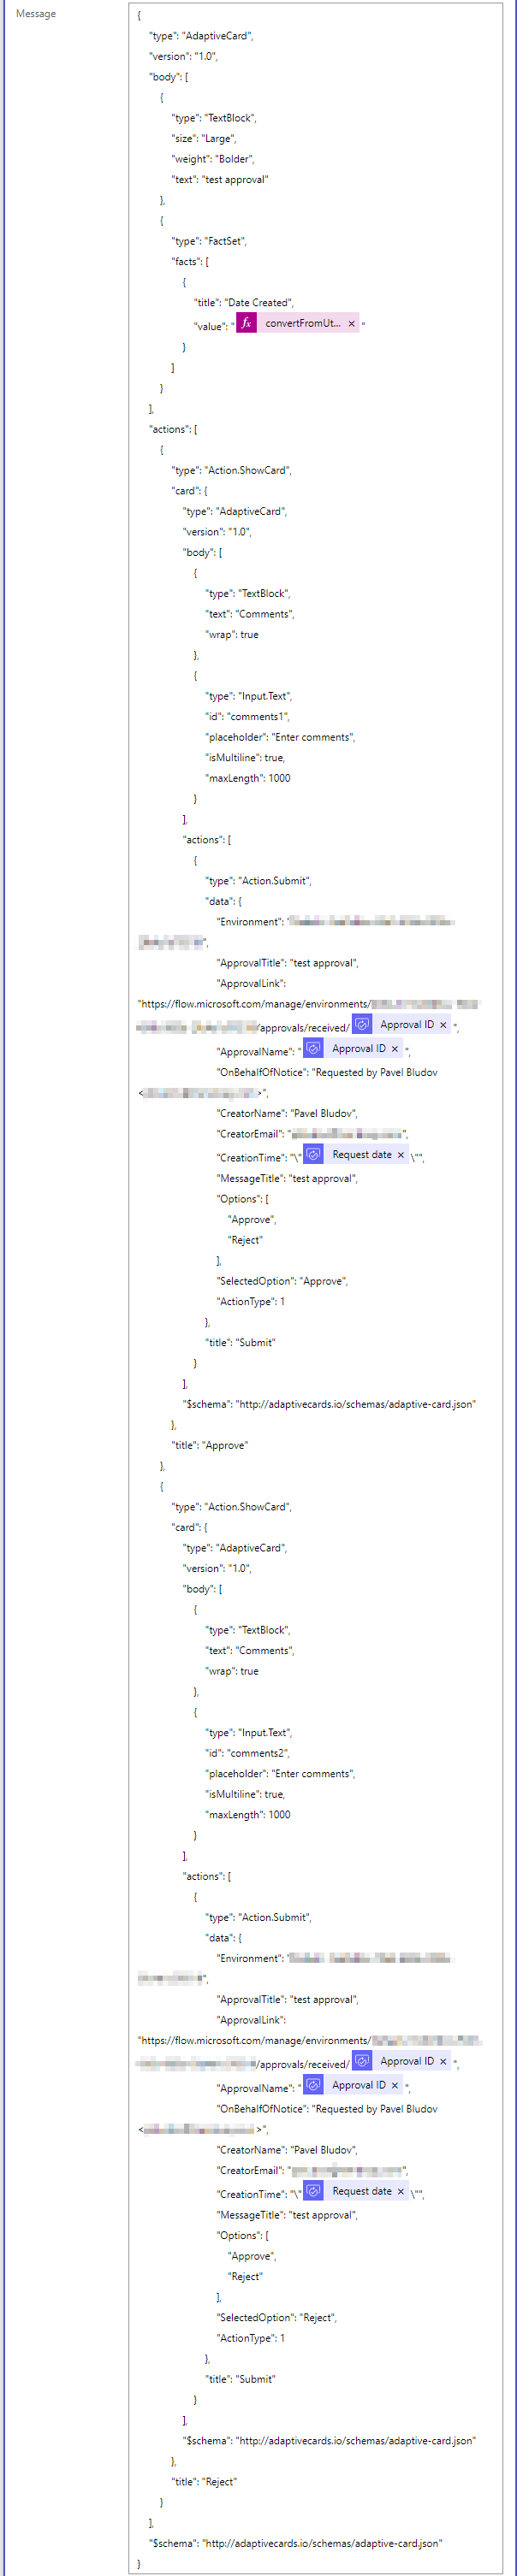
Make the Flow run – what we really need is the output of it. Copy the code from the Message field as shown below.
Go to https://adaptivecards.io/designer/ and paste the previously copied code into the Card Payload Editor.
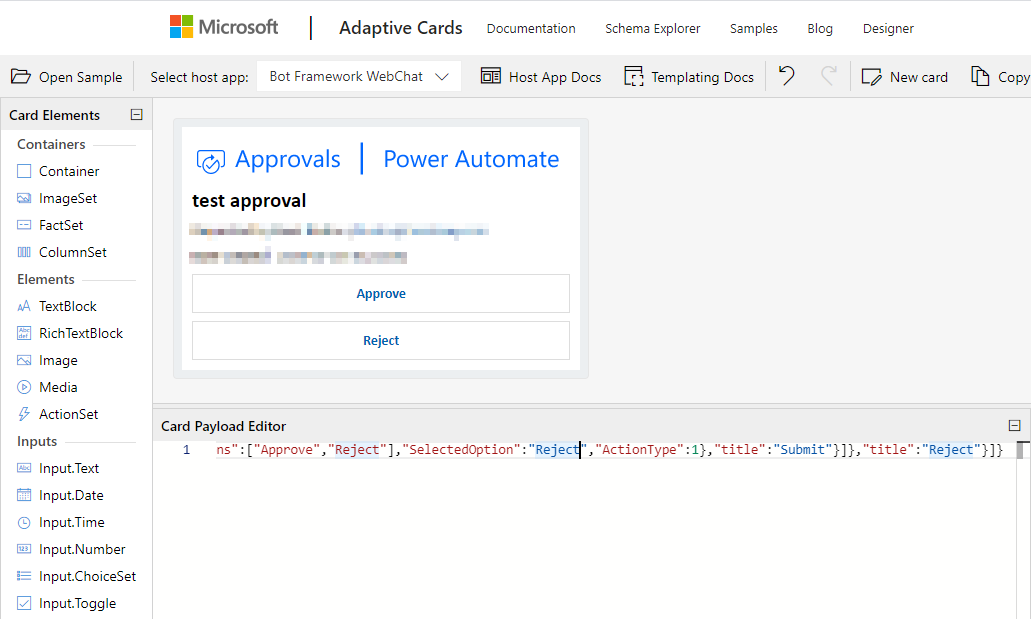
As soon as you change any element in your card using the visual editor, the code in the Card Payload Editor will change to a proper JSON format. Now it’s time to adjust the look of your Adaptive Card. Once done, copy it.
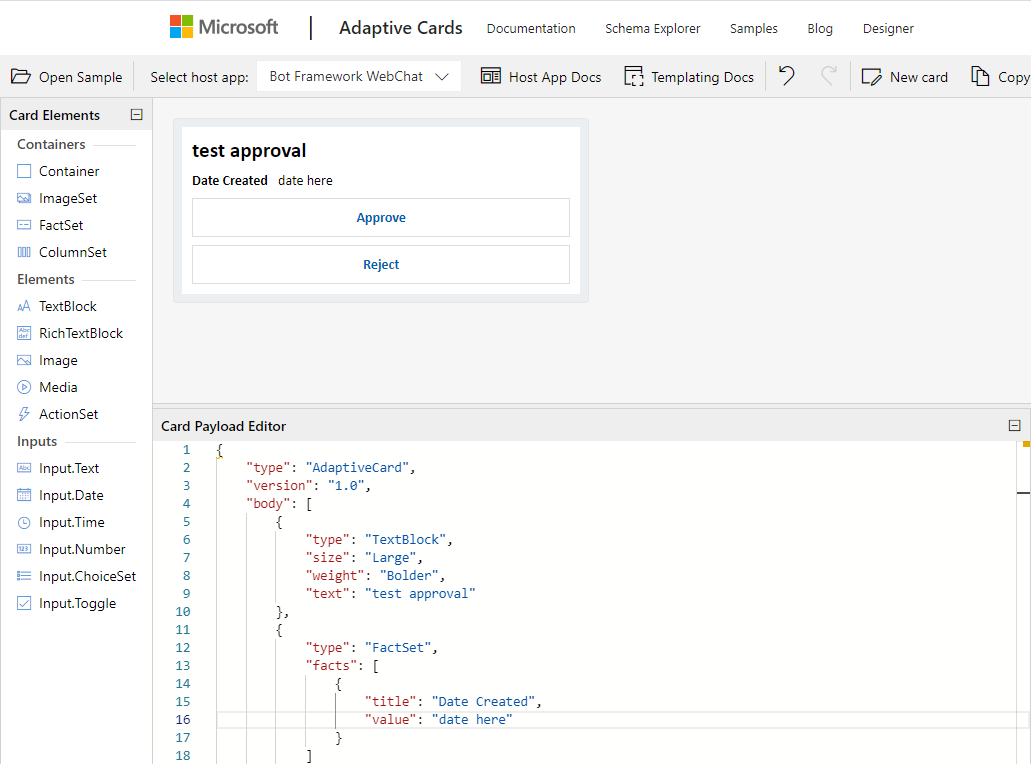
Go to the Flow and replace a standard Adaptive Card with the copied code. There are a few fields that absolutely need to be adjusted. Also for my Date Created I use a simple formula to show only a date (EST time zone):
convertFromUtc(body('Create_an_approval')?['requestDate'],'Eastern Standard Time','d')
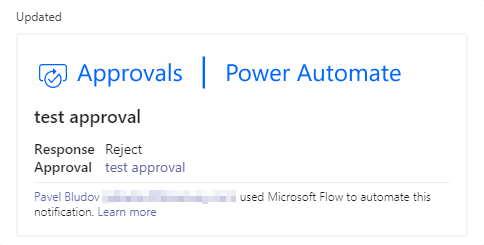
RESULT
Once approved or rejected, the request gets posted without errors.
Hi, if i create new input field, how i can retrive in power automate when the approval get response?
Hi,
Does the result/output of the approval store the value from your input field? If yes, if you can see it within the raw output, then it shouldn’t be a problem.